Rooting Transformer Prime after Jelly Beans Update
If you had root on the ASUS Transformer Prime before updating to Jellybean 4.1.1 you will realise that you end up with a partial root after upgrading. However the good news is that you can restore full root access on your ASUS Transformer Prime quite easily.
Note: i did have a root backup created by OTA Root Keeper, however trying to restore that after upgrading was not successful. I’m not sure if trying to do that played a part in the partial root i had after upgrading or not.
First on your Transformer Prime load the settings app, go to Development options and enable USB debugging, then connect your Transformer Prime to the PC with the USB cable. If you are asked to install drivers download the drivers here.
The easy way to re-root your Transformer Prime on Android Jellybean 4.1.1
Since writing this tutorial many months ago, a newer, easier and automated root method has been discovered for the Asus Transformer Prime on Jellybean 4.1.1 and various other devices. You do not have to have an existing partial root now either, you can root a completely stock Transformer Prime.
To root your Transformer Prime, simply download Motochopper, then open the run.bat if you are on Windows. You will be informed that you need the usb drivers installed, and that you must have USB debugging enabled as i mentioned above.
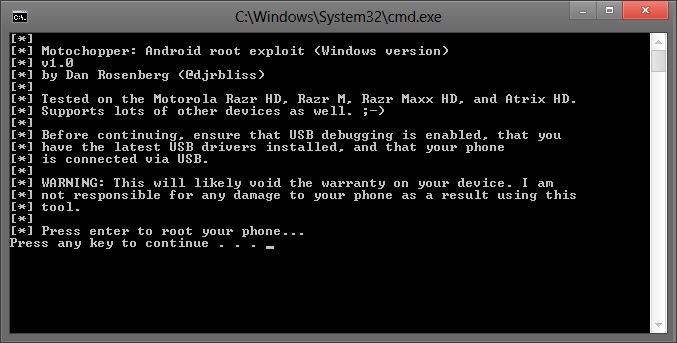
Once you have done this press any key to continue and you should have a fully rooted transformer prime in around a minutes time.
The older way to re-root your Transformer Prime on Jellybean 4.1.1
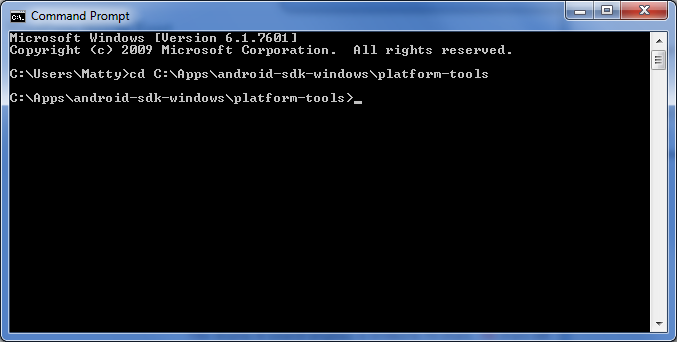
To do this you will need the Android SDK installed, after installing you will need to open a command prompt window and navigate to the platform tools folder.
As i installed the Android SDK to C:\Apps for me this would be
cd C:\Apps\android-sdk-windows\platform-tools
Now download sufiles.zip and unzip them to your C:\ drive in a folder called “sufules”
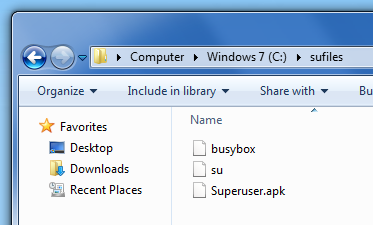
Run the following commands in the command prompt window to push the superuser files to your Transformer Prime
adb push C:\sufiles\su /data/local/tmp/
adb push C:\sufiles\Superuser.apk /data/local/tmp/
adb push C:\sufiles\busybox /data/local/tmp/
Now type:
adb shell
You should now be in a shell / terminal prompt on your device, type in the following commands
chmod 6755 /data/local/tmp/su
chmod 755 /data/local/tmp/busybox
chmod 644 /data/local/tmp/Superuser.apksysrwcp /data/local/tmp/su /system/bin
cp /data/local/tmp/busybox /system/bin
cp /data/local/tmp/su /system/xbin
cp /data/local/tmp/busybox /system/xbin
cp /data/local/tmp/Superuser.apk /system/app/reboot
After your Transformer Prime re starts you should find you can grant applications root / super user access when the app request it.
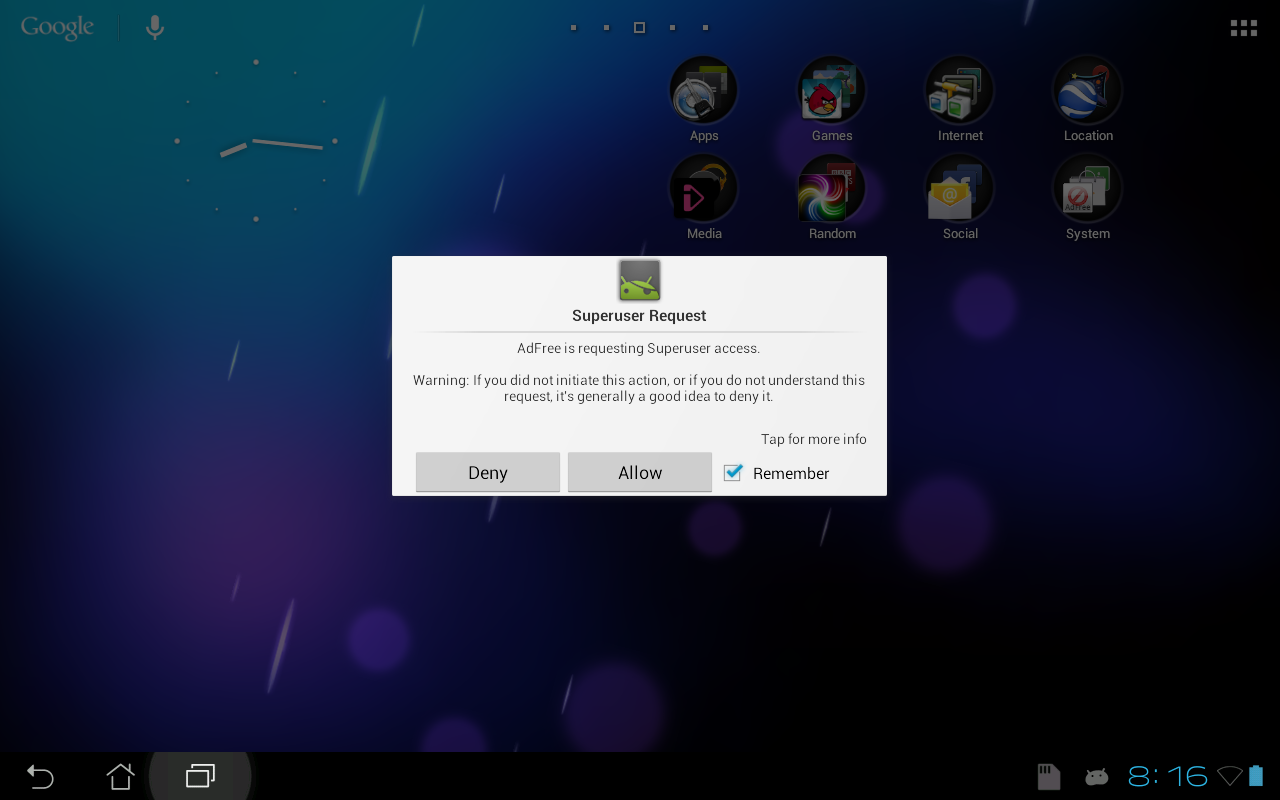
Asus Transformer Prime after the Jellybean 4.1.1 update:
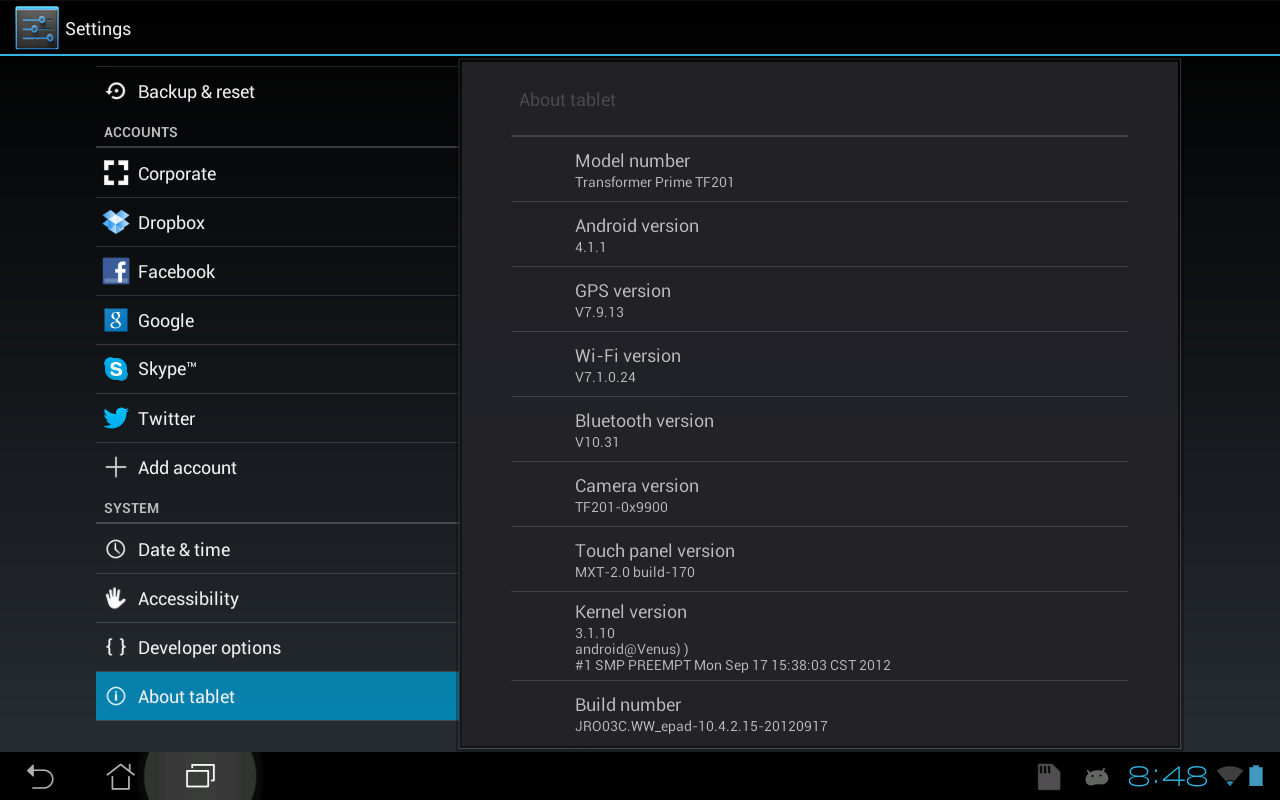
Hopefully this will allow newbies and experienced users alike to re gain root on the Transformer Prime After Jellybean 4.1.1 Update, i was able to do so perfectly anyway.


0 comments:
Post a Comment